
If you’ve never painted a home before, the term “cutting in” may be new to you, but to seasoned painters, it can either be your worst nightmare or your favorite part. Cutting in is a method of painting that eliminates most of the extensive prepping required when you follow all those painting instructions: remove all cover plates from light switches and power outlets; cover the floor with drop cloths, apply masking tape or painter’s tape around all the window and door trim, baseboards and crown molding!
What it requires
The one item most necessary for learning the technique of cutting in is a steady hand. In addition to that you’ll need a good eye, and a really good brush. An angle brush is best because it makes sharper edges with thinner paint so there’s less chance of it running or dripping.
What Is It?
In the simplest terms, cutting in is freehand painting the straight lines along trim and other elements not slated for that paint color. If you can master it, you eliminate the need to mask everything off, so your job is completed that much faster.
What does it look like?
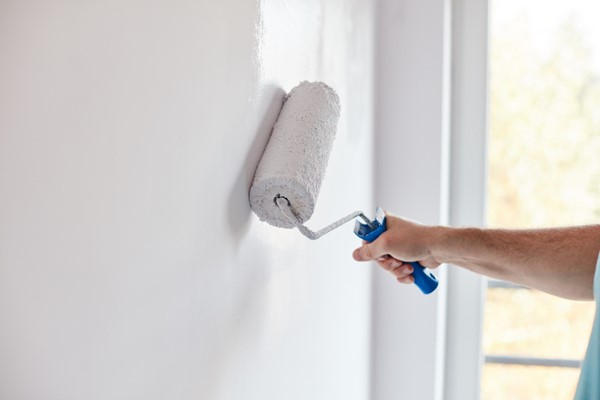
If your trim around your windows and doors, chair rail and crown molding is white and your wall will be green, you carefully paint a smooth line alongside the molding in your green paint, extending it out a couple inches so that when you roll the rest of the wall, your roller doesn’t need to come too close to the paint. The positives outweigh the negatives here:• Positives: Less time prepping; less time cleaning up and removing paint; reduced cost (the good tape is really expensive); instant gratification because you can see what it will look like right away, and the knowledge that you did it yourself.• Negatives: You’ll need to buy a really good brush; if you slip up and get a splotch of colorful paint on your white trim, it may take some extra effort to cover it up.
How to
Get yourself the best quality 1-1/2 inch to 2-inch angle brush you can afford, and a small can or paint tray that you can easily hold in one hand. Specialty “cut buckets” have no lip so it keeps paint from building up on the edge, but a plastic quart-sized container works just as well.
Practice painting with a piece of masking tape or paint guide until you can make a straight line the thickness you desire, and that doesn’t drip or run.
Now fill your bucket and get to work. Start in a location that has open access, such as a door or window in the middle of the wall. You want to build up your confidence before you get in one of those tight places.
Place the bristles at an angle and draw your brush down alongside the trim, breaking away from the edge every several inches until you feel sure of yourself. Keep a moist paper towel handy to quickly wipe off mistakes while the paint is still wet. Soon, you’ll have the whole room edged and ready to roll.
If you don’t think this technique is for you, ask your professional realtor for a referral of a qualified painter.
